SDG #205 Prototyping a 60W Cree LED Studio Light with PCBs from PCBWay
This is a full build log for a DIY studio light, taking a 60W array of Cree LEDs from schematic capture through to a working, thermally tested fixture. The design work is done in Altium Designer, with the layout focused on getting heat out of the LED thermal pads and into a metal backing rather than on routing complexity, which is the real engineering constraint in any high power lighting project.
The assembly stage is worth attention for anyone attempting something similar. The bare boards arrive from a prototype PCB service, and mounting them involves a decision between screwing directly to a heatsink and using 3M thermal adhesive tape. Tape is convenient but adds thermal resistance, and the temperature results later in the build show how much margin that costs. LEDiL optics are fitted to control the beam, which matters enormously for a light intended to illuminate a bench or a subject evenly instead of throwing a hot spot.
The mechanical side is handled with 3D printed parts produced on a Geeetech A20M using PLA+, reinforced with brass threaded inserts so the housing can be repeatedly disassembled without stripping plastic threads. That is a small detail that separates a prototype you can actually use from one that falls apart.
Measurements close things out: brightness comparisons against existing lighting, plus thermal imaging to confirm junction temperatures stay within a safe operating band at full drive. The takeaway for anyone weighing a build like this against a commercial panel is that the electronics are straightforward; heat management and optics decide whether the result is genuinely usable.
More Electronics Projects
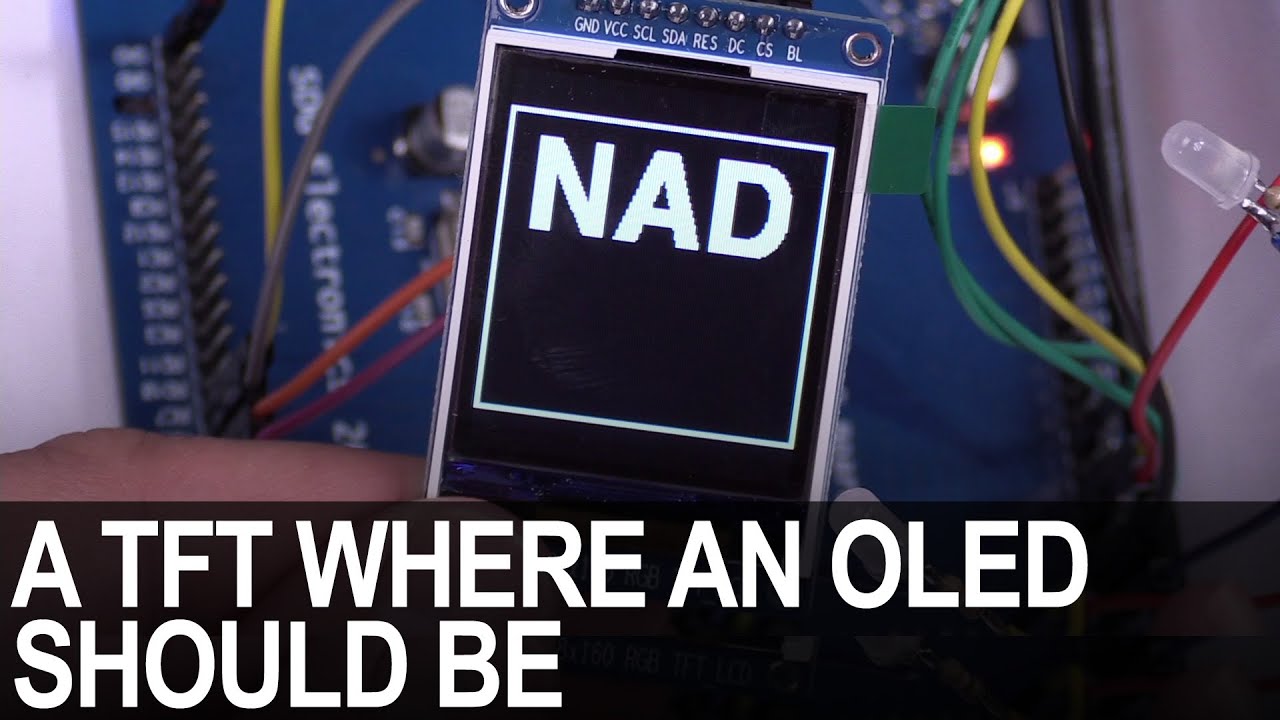
SDG #365 Reverse Engineering NAD D7050 OLED Replacement for IPS TFT
Decoding the NAD D7050's obsolete SSD1355 OLED protocol with a logic analyser, then driving an SSD1351 OLED and ST7735S IPS TFT as replacements.

SDG #360 Zero Crossing Detection and PCBWay 3D Prints
Testing PCBWay nylon PA12 and clear resin wall mounts for a Waveshare 4in ESP32-S3 touch dimmer, plus lower-power zero crossing detection options.

SDG #357 RGB Meteor Shower LEDs Build using ESP32 and WLED
Custom meteor shower Christmas lights built from WS2812 LED PCBs, ESP32 controllers running WLED, acrylic tubes and 3D printed weatherproof caps.