SDG #068 Designing a Trailing Edge Dimmer - Lighting Controller Project - Part 2
The second instalment of the lighting controller project moves from concept to a working trailing edge dimmer design, and it is a useful case study in why this topology has largely replaced the old leading edge triac dimmer for modern lamps. Where a triac chops the front of each mains half cycle and dumps a sharp current step into the load, a trailing edge design switches on softly at the zero crossing and turns off part way through the cycle. That gentler slope means far less conducted noise, less audible buzz from transformers and windings, and much better behaviour with LED and electronic drivers that dislike being hit with fast edges.
The design walkthrough covers the parts of the circuit that actually decide whether a dimmer works or catches fire: a bidirectional switching element built from MOSFETs so the AC waveform can be blocked in both directions, gate drive referenced to a floating node, snubbing and dissipation considerations, and the zero cross detection that gives the microcontroller a timing reference for phase angle control. Getting that timing reference clean matters more than most people expect, because jitter in the zero cross signal shows up as visible flicker at low brightness settings.
Measurement discipline is the other half of the story. Probing a live mains switching node with a conventional single ended oscilloscope probe is a fast route to a damaged scope or worse, so a differential probe is used to look at gate drive and switch node waveforms safely without a mains referenced ground. Anyone planning to build their own dimmer should treat that isolation as mandatory rather than optional, alongside careful PCB clearances between mains and control side circuitry.
More Electronics Projects
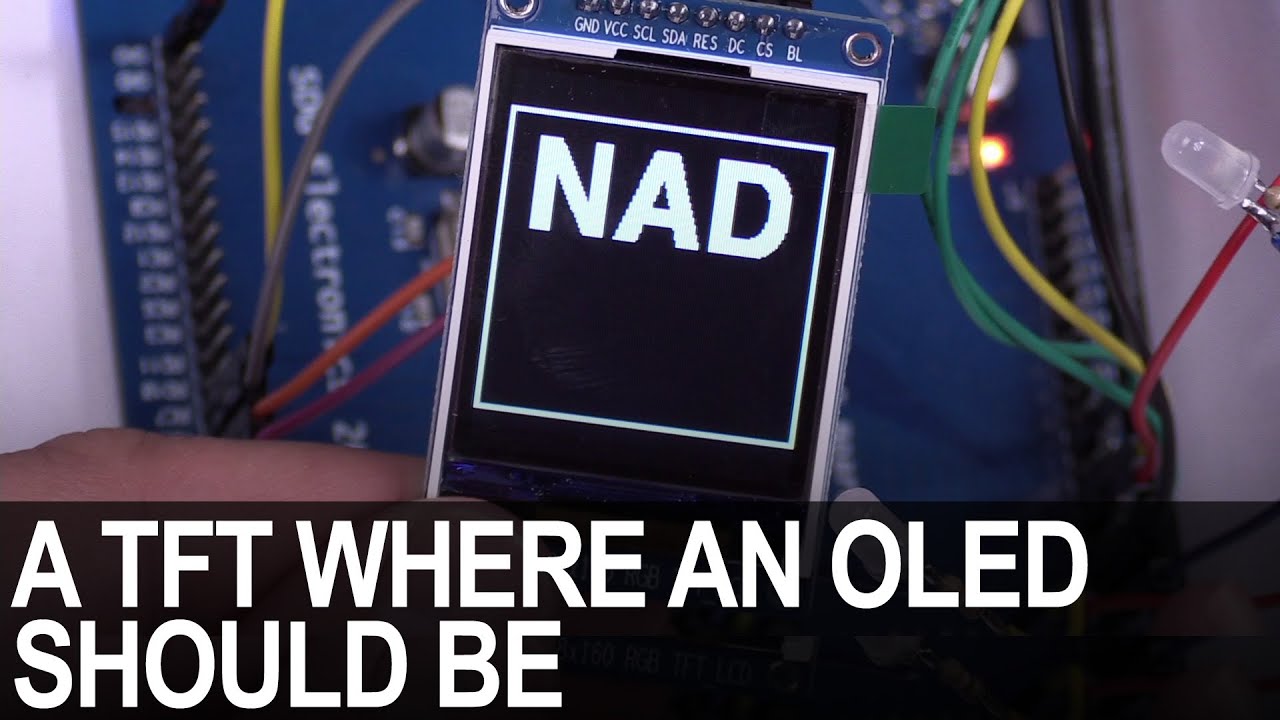
SDG #365 Reverse Engineering NAD D7050 OLED Replacement for IPS TFT
Decoding the NAD D7050's obsolete SSD1355 OLED protocol with a logic analyser, then driving an SSD1351 OLED and ST7735S IPS TFT as replacements.

SDG #360 Zero Crossing Detection and PCBWay 3D Prints
Testing PCBWay nylon PA12 and clear resin wall mounts for a Waveshare 4in ESP32-S3 touch dimmer, plus lower-power zero crossing detection options.

SDG #357 RGB Meteor Shower LEDs Build using ESP32 and WLED
Custom meteor shower Christmas lights built from WS2812 LED PCBs, ESP32 controllers running WLED, acrylic tubes and 3D printed weatherproof caps.