SDG #305 How to Wind a Flyback Transformer for SMPSU
Off-the-shelf transformers rarely match a custom flyback design, so this build tackles the part that cannot simply be ordered. The target spec comes straight from the switcher design tool: 204 primary turns, a 51 turn bias winding for feedback, and a centre-tapped secondary of 10 and 4 turns, all on a small bobbin wound with 38 AWG magnet wire.
The practical lessons matter more than the numbers. A budget manual coil winder is not really sized for bobbins this small, and the workaround here is an M4 bolt through the bobbin secured with nuts into a PCB standoff, which works but wobbles enough to make truly flat layers impossible. Winding phase is highlighted early: the dots on the schematic show the primary is opposite to the other windings, so start and finish pins must be respected even though every winding turns the same way. Teflon sleeving protects the wire where it climbs from pin to bobbin, and insulation tape goes between winding sections.
Gapping is the part most guides gloss over. With an LCR meter connected to the primary, the air-cored bobbin reads roughly 200uH, jumping to around 40mH with the core clamped tight. Paper shims on both core halves bring it down toward the 3844uH target, showing clearly how gap size sets primary inductance.
Finishing includes a varnish dip, notably without vacuum impregnation because the varnish instructions forbid it, then a re-check of inductance the next day. The isolation barrier is proven with an installation tester stepping from 50V to 1000V, reading beyond range at every step. Hand winding could not hit the three-layer primary the software suggested, an honest limitation of DIY versus an automatic winder.
More Electronics Projects
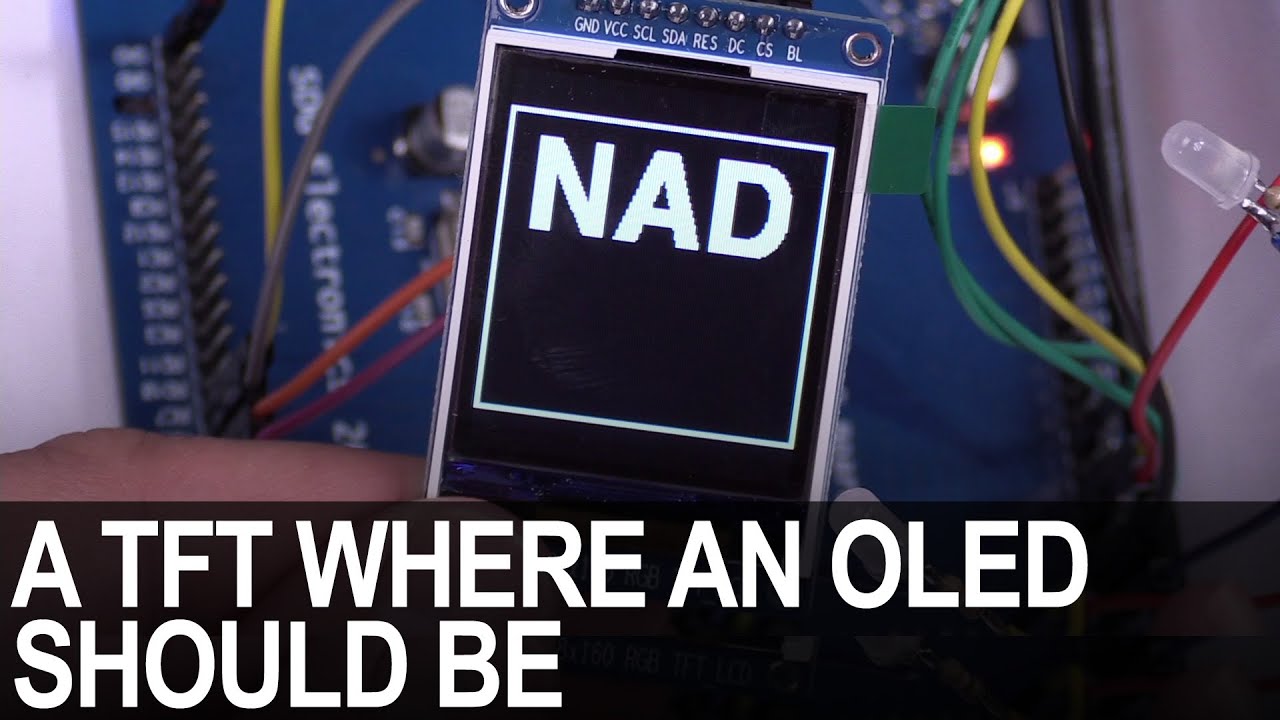
SDG #365 Reverse Engineering NAD D7050 OLED Replacement for IPS TFT
Decoding the NAD D7050's obsolete SSD1355 OLED protocol with a logic analyser, then driving an SSD1351 OLED and ST7735S IPS TFT as replacements.

SDG #360 Zero Crossing Detection and PCBWay 3D Prints
Testing PCBWay nylon PA12 and clear resin wall mounts for a Waveshare 4in ESP32-S3 touch dimmer, plus lower-power zero crossing detection options.

SDG #357 RGB Meteor Shower LEDs Build using ESP32 and WLED
Custom meteor shower Christmas lights built from WS2812 LED PCBs, ESP32 controllers running WLED, acrylic tubes and 3D printed weatherproof caps.