SDG #107 Some soldering and testing with PCBs from JLCPCB - Lighting Controller Project Part 7
Part 7 of the lighting controller build moves the project off the breadboard and onto real, fabricated PCBs, which is where design decisions get tested for the first time. The focus here is assembly technique rather than schematic theory: choosing a sensible soldering order so that tall or heat-sensitive parts do not block access to fine-pitch footprints, checking pad and silkscreen quality on the delivered boards, and confirming that footprints match the parts actually in hand before committing solder to them.
The practical value for anyone doing their own prototype runs is in the small details. Fine-pitch and small passive work is handled under a stereo microscope with a temperature-controlled T12-style iron, a combination that makes 0603-and-smaller placement far less stressful than a generic pencil iron. Flux, tip selection and tip cleaning all come into play, and it is a good illustration of why a cheap cartridge station plus decent optics is one of the highest-value upgrades a hobbyist can make.
Testing follows assembly. Before any smoke test, continuity and short checks with a multimeter are the cheap insurance step, followed by staged power-up to verify regulator output and that supporting circuitry behaves as intended. Inevitably a prototype throws up things the schematic capture did not: a footprint quirk, a component orientation to double check, or a rework to patch in.
As a buyer-facing takeaway, the episode shows that budget prototype PCB fabrication is now good enough that board quality is rarely the limiting factor; the bottleneck is your own footprint library, parts sourcing and soldering setup. Watching the assembly sequence and the order of the electrical checks is the most transferable part of this instalment.
More Electronics Projects
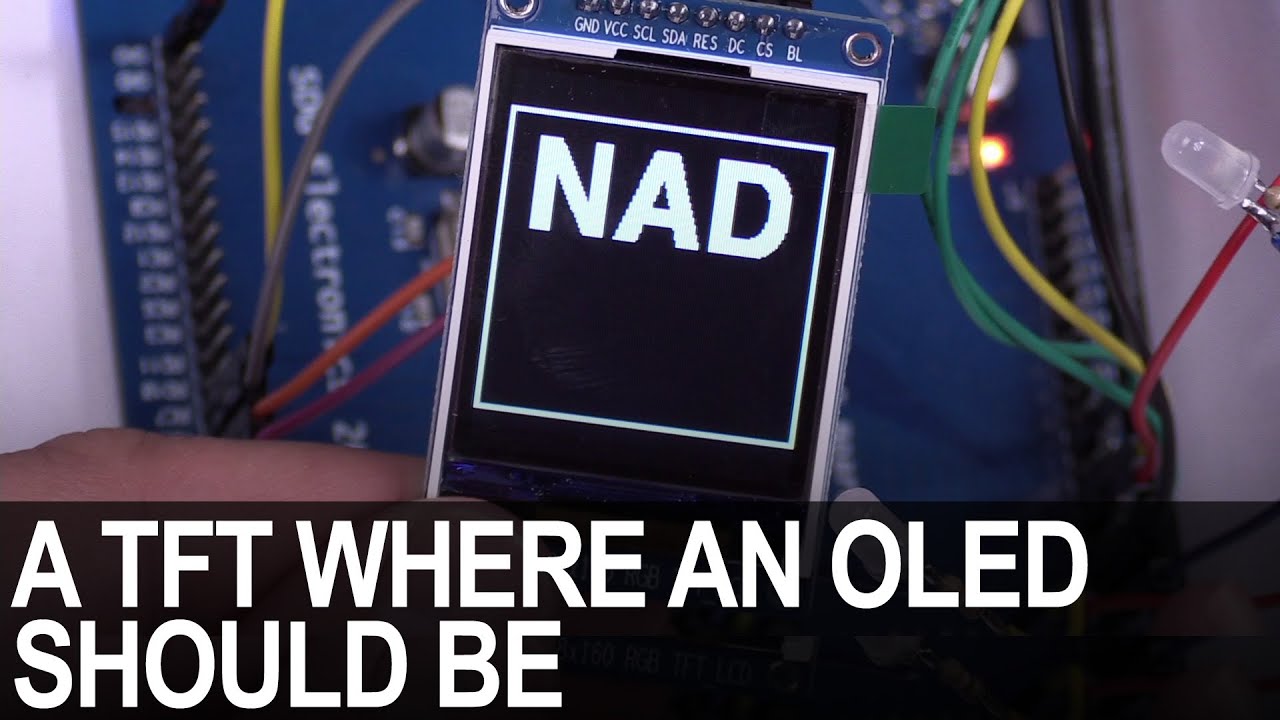
SDG #365 Reverse Engineering NAD D7050 OLED Replacement for IPS TFT
Decoding the NAD D7050's obsolete SSD1355 OLED protocol with a logic analyser, then driving an SSD1351 OLED and ST7735S IPS TFT as replacements.

SDG #360 Zero Crossing Detection and PCBWay 3D Prints
Testing PCBWay nylon PA12 and clear resin wall mounts for a Waveshare 4in ESP32-S3 touch dimmer, plus lower-power zero crossing detection options.

SDG #357 RGB Meteor Shower LEDs Build using ESP32 and WLED
Custom meteor shower Christmas lights built from WS2812 LED PCBs, ESP32 controllers running WLED, acrylic tubes and 3D printed weatherproof caps.